Meshing
Introduction
Meshing is a crucial feature in AR applications that allows for the creation of 3D meshes of the real-world environment. These meshes enable more advanced interactions and realistic placement of virtual objects. Using Unity's XR Interaction Toolkit and AR Foundation, developers can implement meshing to enhance their AR experiences.
Capabilities
Depth mesh expands many AR capabilities.
-
Visualization: Provide visual feedback as users scan their environment.
-
Occlusion: Effectively hides virtual objects behind real ones, particularly useful indoors.
-
Physics: With the help of MeshColliders, virtual objects and characters can interact more realistically with the environment and real objects.
-
Flexible Object Placement: Allows for more flexible addition and arrangement of virtual objects compared to plane detection.
-
Semantics: Employs advanced capabilities to identify and categorize mesh blocks into specific classes, including BACKGROUND, WALL, BUILDING, FLOOR, CEILING, HIGHWAY, SIDEWALK, GRASS, DOOR, and TABLE. This enhances the overall context awareness of augmented reality experiences.
Requirements
To implement meshing, ensure you have the following setup:
- Unity Editor: Version 2021.3 or later.
- Packages:
- XR Interaction Toolkit
- AR Foundation
- AR Subsystems
Developer Guide
1. Basic Setup
- Create a new project in Unity.
Need help setting up? Try Getting Started with XREAL SDK first.
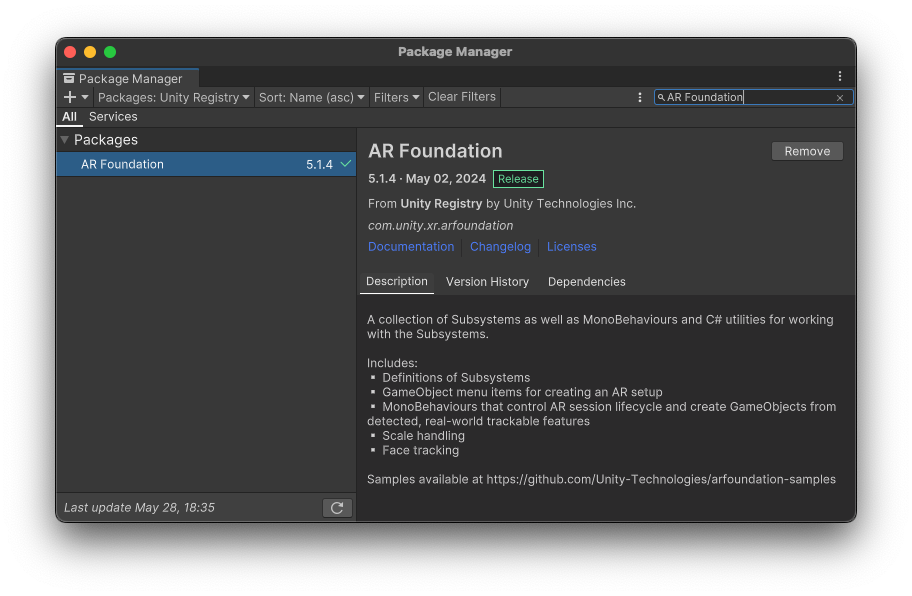
- Install AR Foundation and AR Subsystems from the Unity Registry in the Package Manager.
-
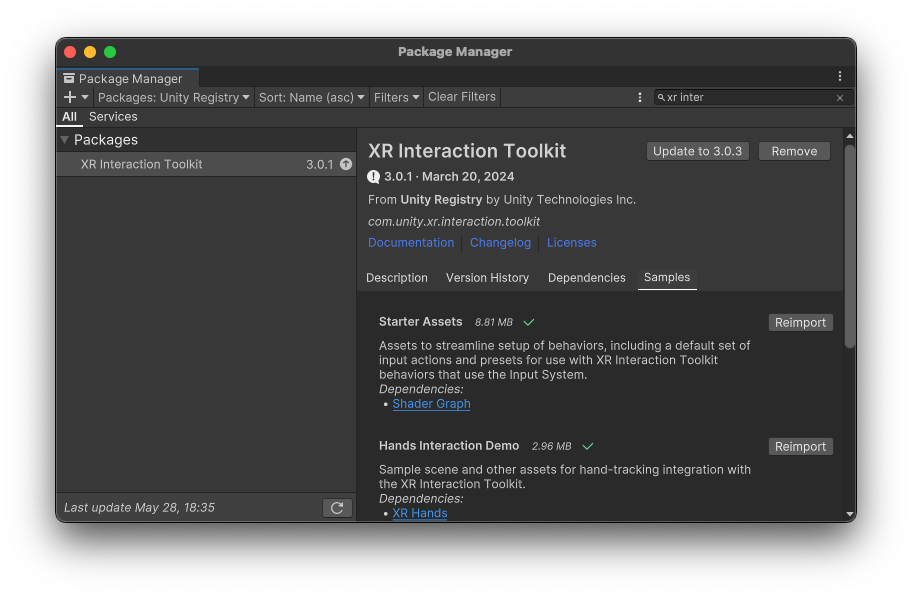
Install XR Interaction Toolkit from the Unity Registry in the Package Manager and import Starter Assets in Samples tab.
-
Create a new scene
-
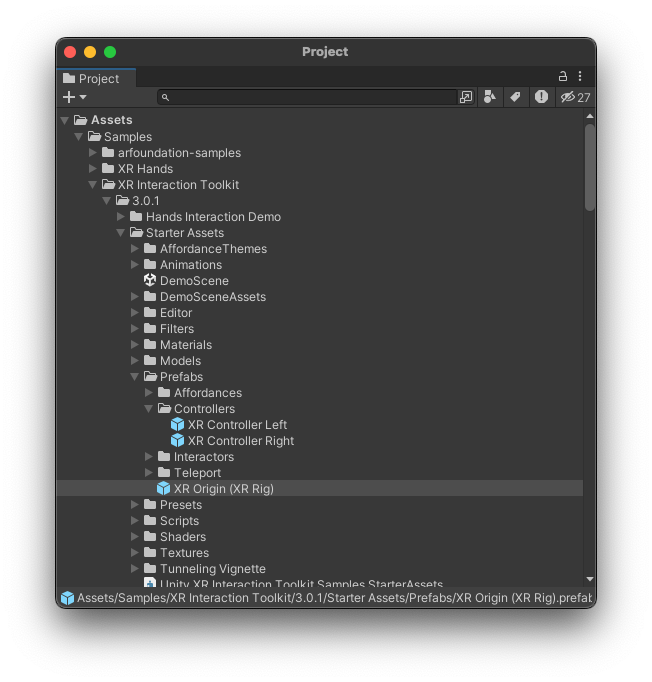
Add an
XR Origin(XR Rig)GameObject to the scene:In the Project window, find Assets/Samples/XR Interaction Toolkit/3.0.1/Starter Assets/Prefabs/XR Origin (XR Rig).prefab, and drag it to Hierarchy window. This will add the necessary components for AR interactions.
-
Add an
AR SessionGameObject to the scene: in the Hierarchy window, right-click and select XR > AR Session. This will add an AR Session component necessary for managing the AR lifecycle. -
Go to Edit > Project Settings > XR Plug-in Management, enable the XREAL XR plug-in.
2. Set Up Meshing
Configure Meshing
-
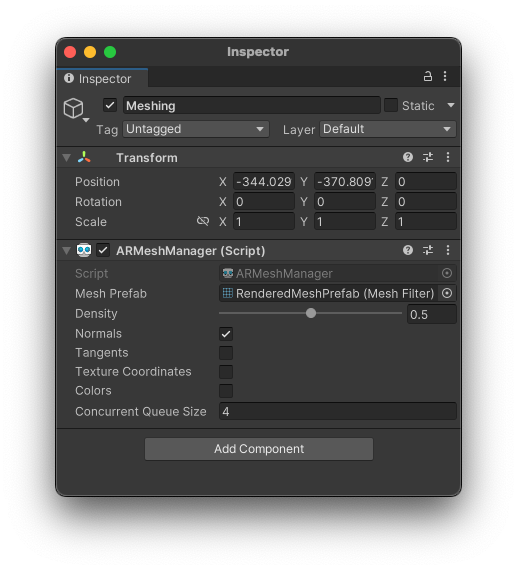
Select the XR Origin(XR Rig) in the Hierarchy window.
-
Click Add Component in the Inspector window.
-
Search for and add the AR Mesh Manager component.
-
In the AR Mesh Manager component, you can set the Mesh Prefab to a custom prefab for visualizing the generated mesh.
-
For a quick test, you can create a simple prefab with a Mesh Renderer and Mesh Filter to visualize the mesh.
3. Testing Meshing
- Connect your compatible device.
- Switch the build target to Android (File > Build Settings).
- Build and run the project on your device.
You should now see the generated mesh visualized in your AR application. You can use this mesh to place virtual objects or interact with the real-world environment.
Conclusion
This guide covers the basics of setting up meshing using the XR Interaction Toolkit and AR Foundation. By following these steps, you can create immersive and interactive AR experiences that utilize real-world 3D meshes.